
Google Pay™ Documentation
Gateway-hosted checkout and iframe checkout — integration
This documentation describes Google Pay™ integration via a Gateway model.
- Google Pay is used strictly for tokenization
- The Gateway handles payment processing and routing
- The merchant does not interact directly with Google Pay API
Important This integration model is not Google Hosted Checkout. Google Pay is shown and initiated only inside Gateway checkout or iframe checkout.
Google Pay availability depends on eligibility rules — session, merchant configuration, currency, country, device, and browser must all qualify.
Who should read this page
- Merchant business users
- Merchant developers
- Billerix teams: product / support / compliance
Recommended reading order
- Merchant Onboarding — activation request, data collection, UAT
- Integration Guide — architecture, session configuration, payload handling
- Button and Branding — required button and UX rules from Google
- Testing and Go-Live — test environment, checklists, go-live criteria
- Troubleshooting — diagnose common issues by symptom
- FAQ — quick answers for merchant questions
- Google Review Pack — review materials and production confirmation
How the flow works
- Shopper selects products on the merchant site.
- Shopper enters Gateway checkout or iframe checkout.
- If eligibility is met, the Google Pay button is shown.
- The Google Pay payment sheet opens in the browser.
- Payment data is processed by Gateway and submitted for processing.
Technical details: Integration Guide.
How merchants enable Google Pay
- Submit an activation request via Gateway.
- Provide required merchant data and domains.
- Complete testing in the sandbox environment.
- Move to production after approval.
Full process: Merchant Onboarding.
UX and branding constraints
Button rendering and brand assets must follow Google requirements. Do not create a custom button or alter the official Google Pay button appearance.
Sensitive for Google review Non-compliant button usage is a common reason for review rejection. Review Button and Branding before testing or submitting for review.
Testing and production path
A separate test environment is available for validating the integration without live charges. Production access requires completing all test and branding checklists. See Testing and Go-Live.
Common issues
Symptom-based diagnosis: Troubleshooting. Quick answers: FAQ.
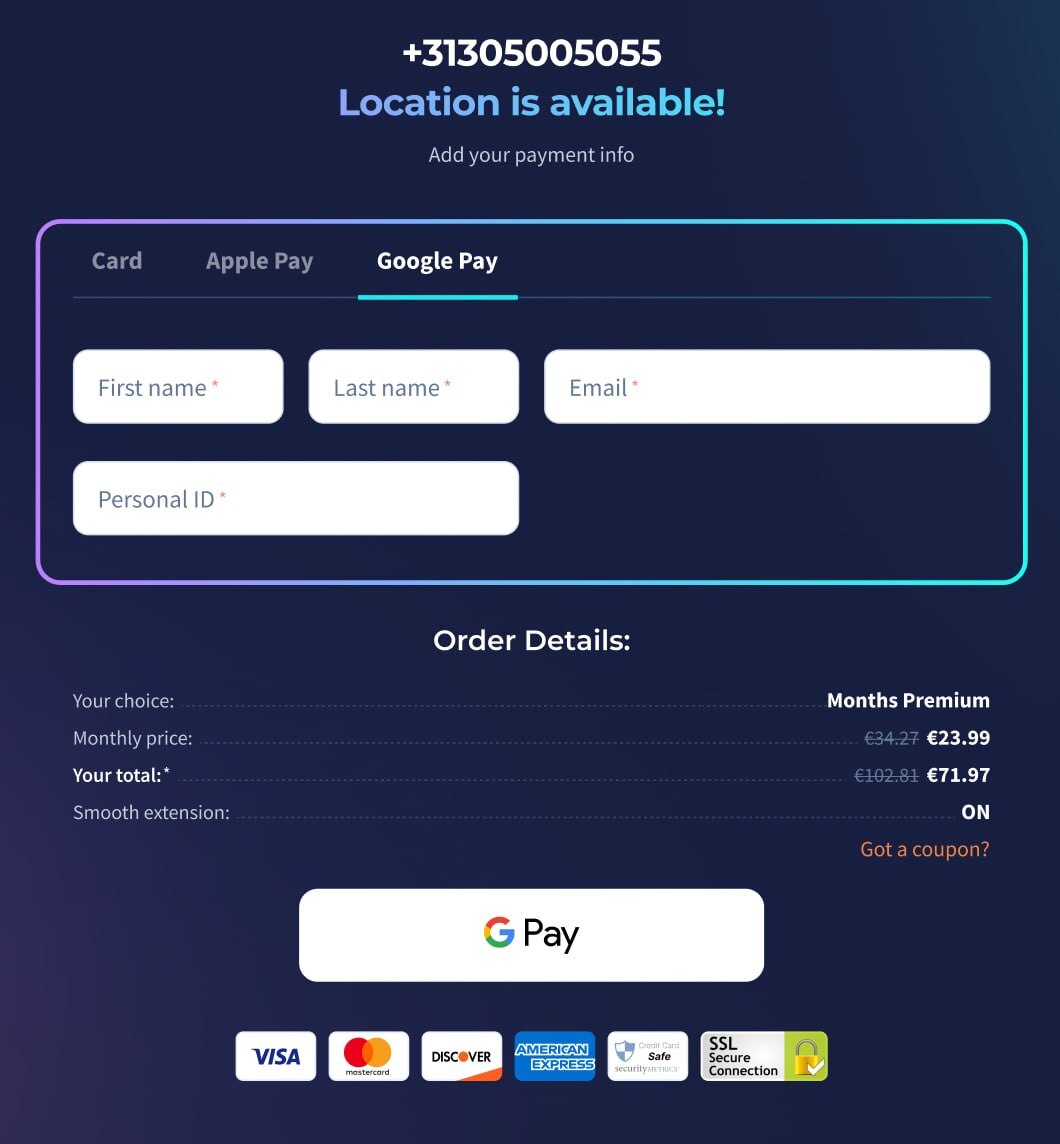
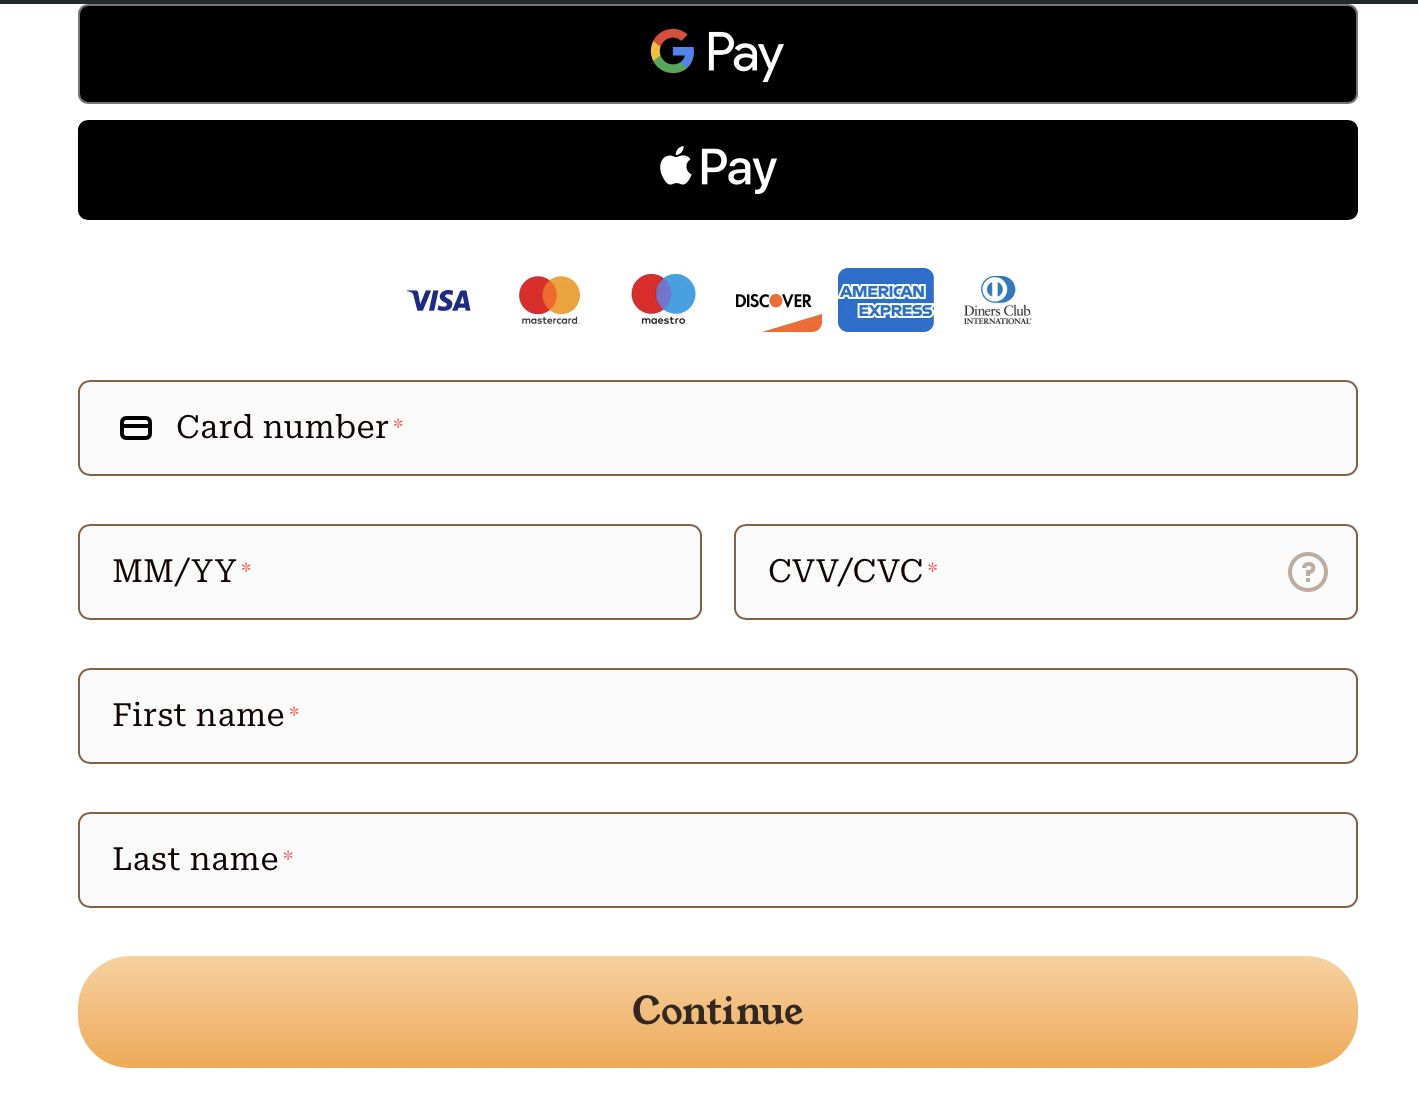
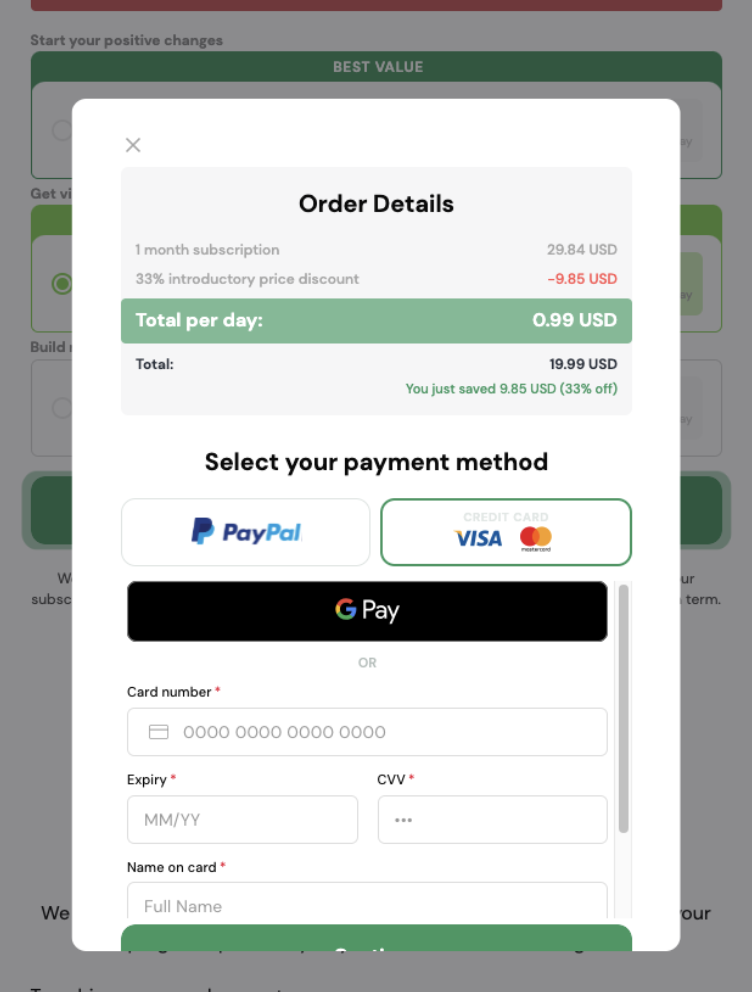
Example of Gateway hosted checkout implementation
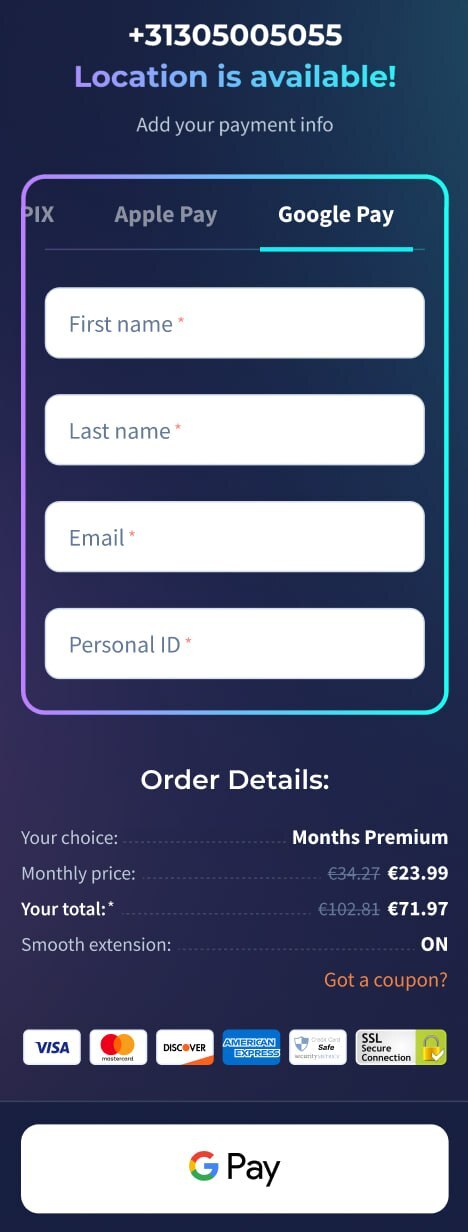


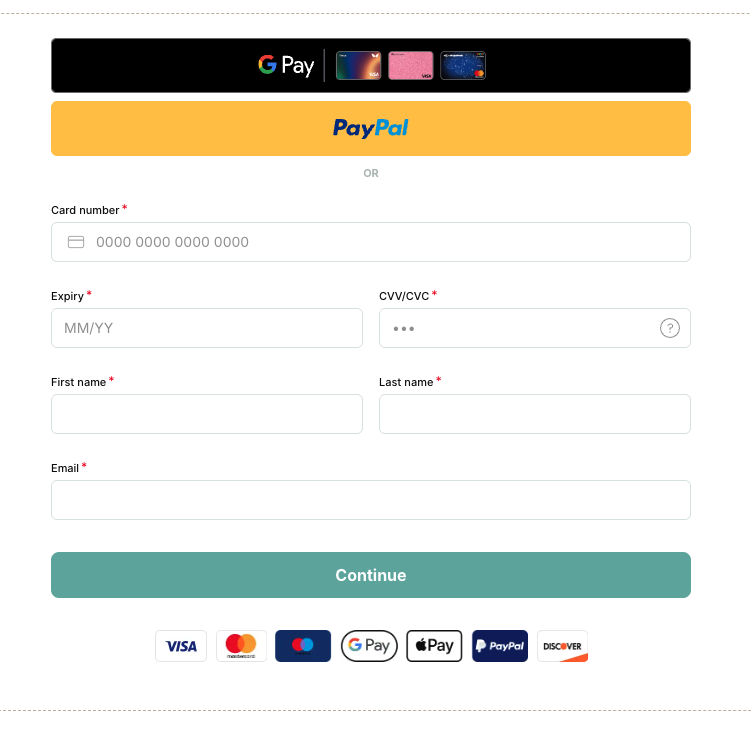
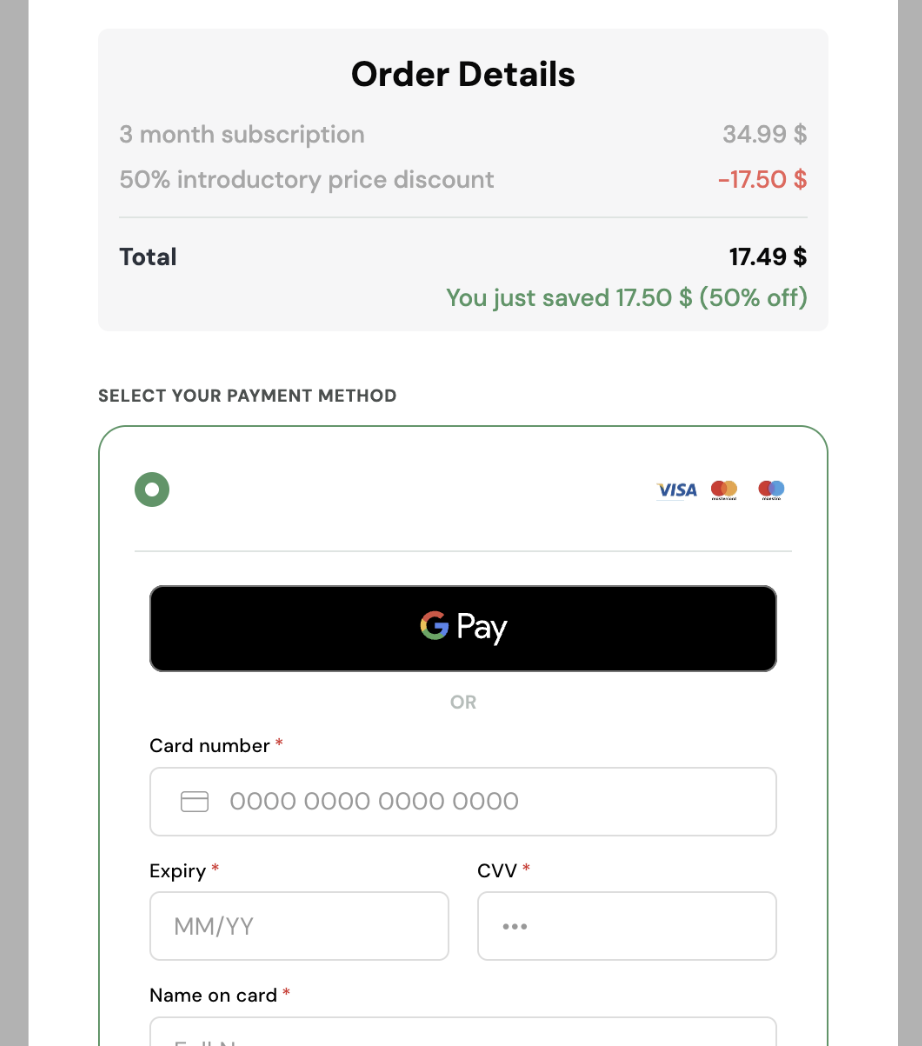
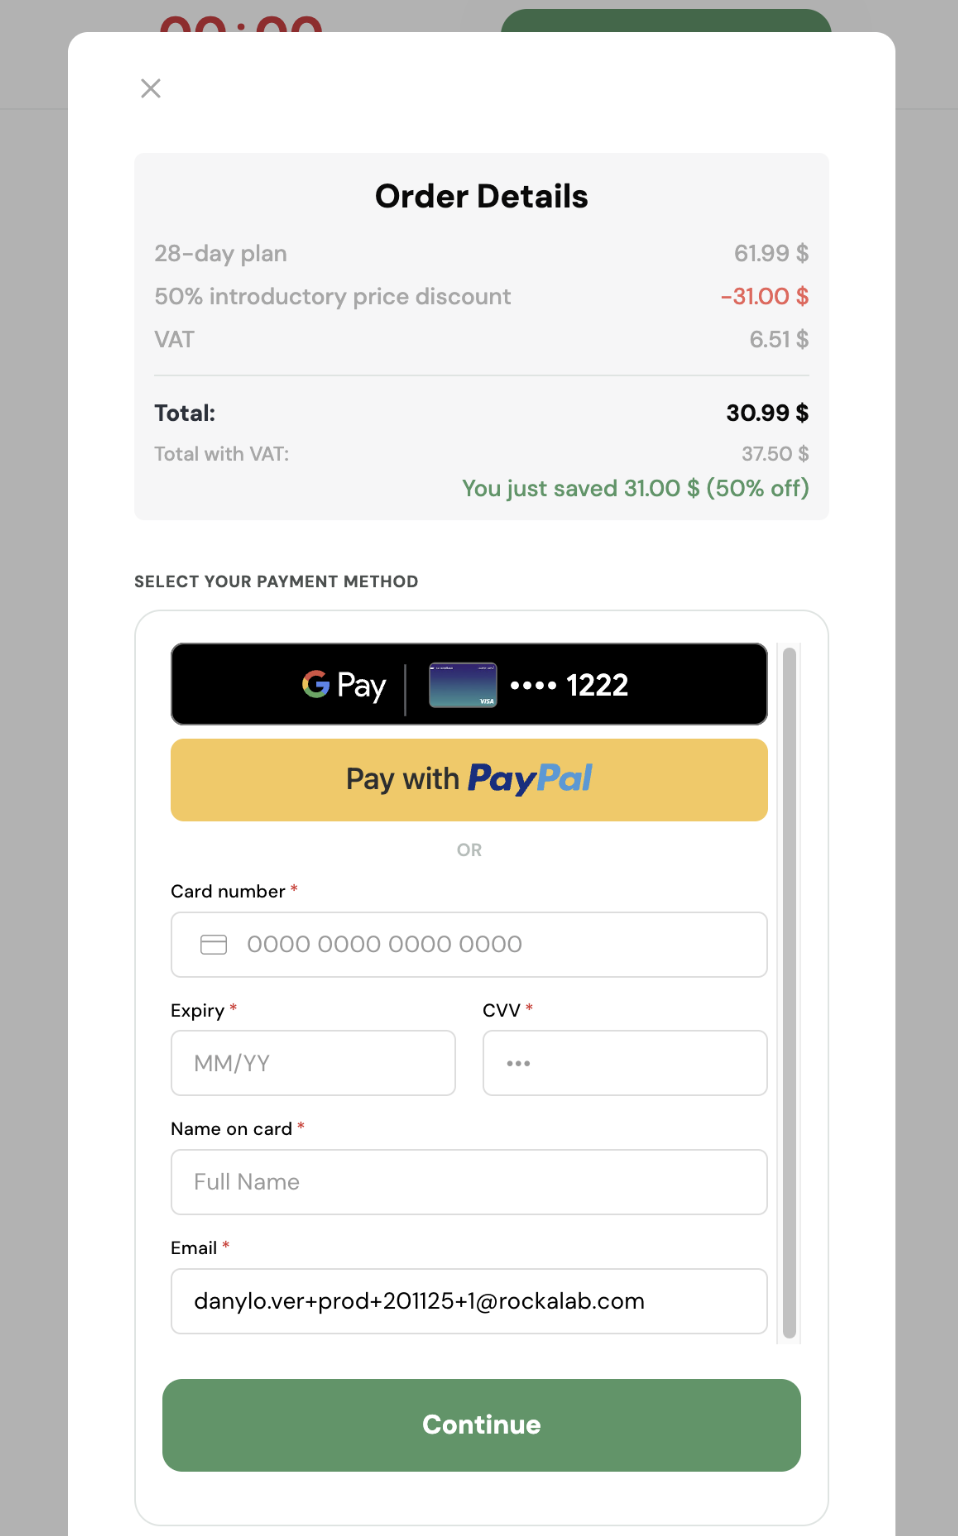
Example of Gateway iframe checkout implementation
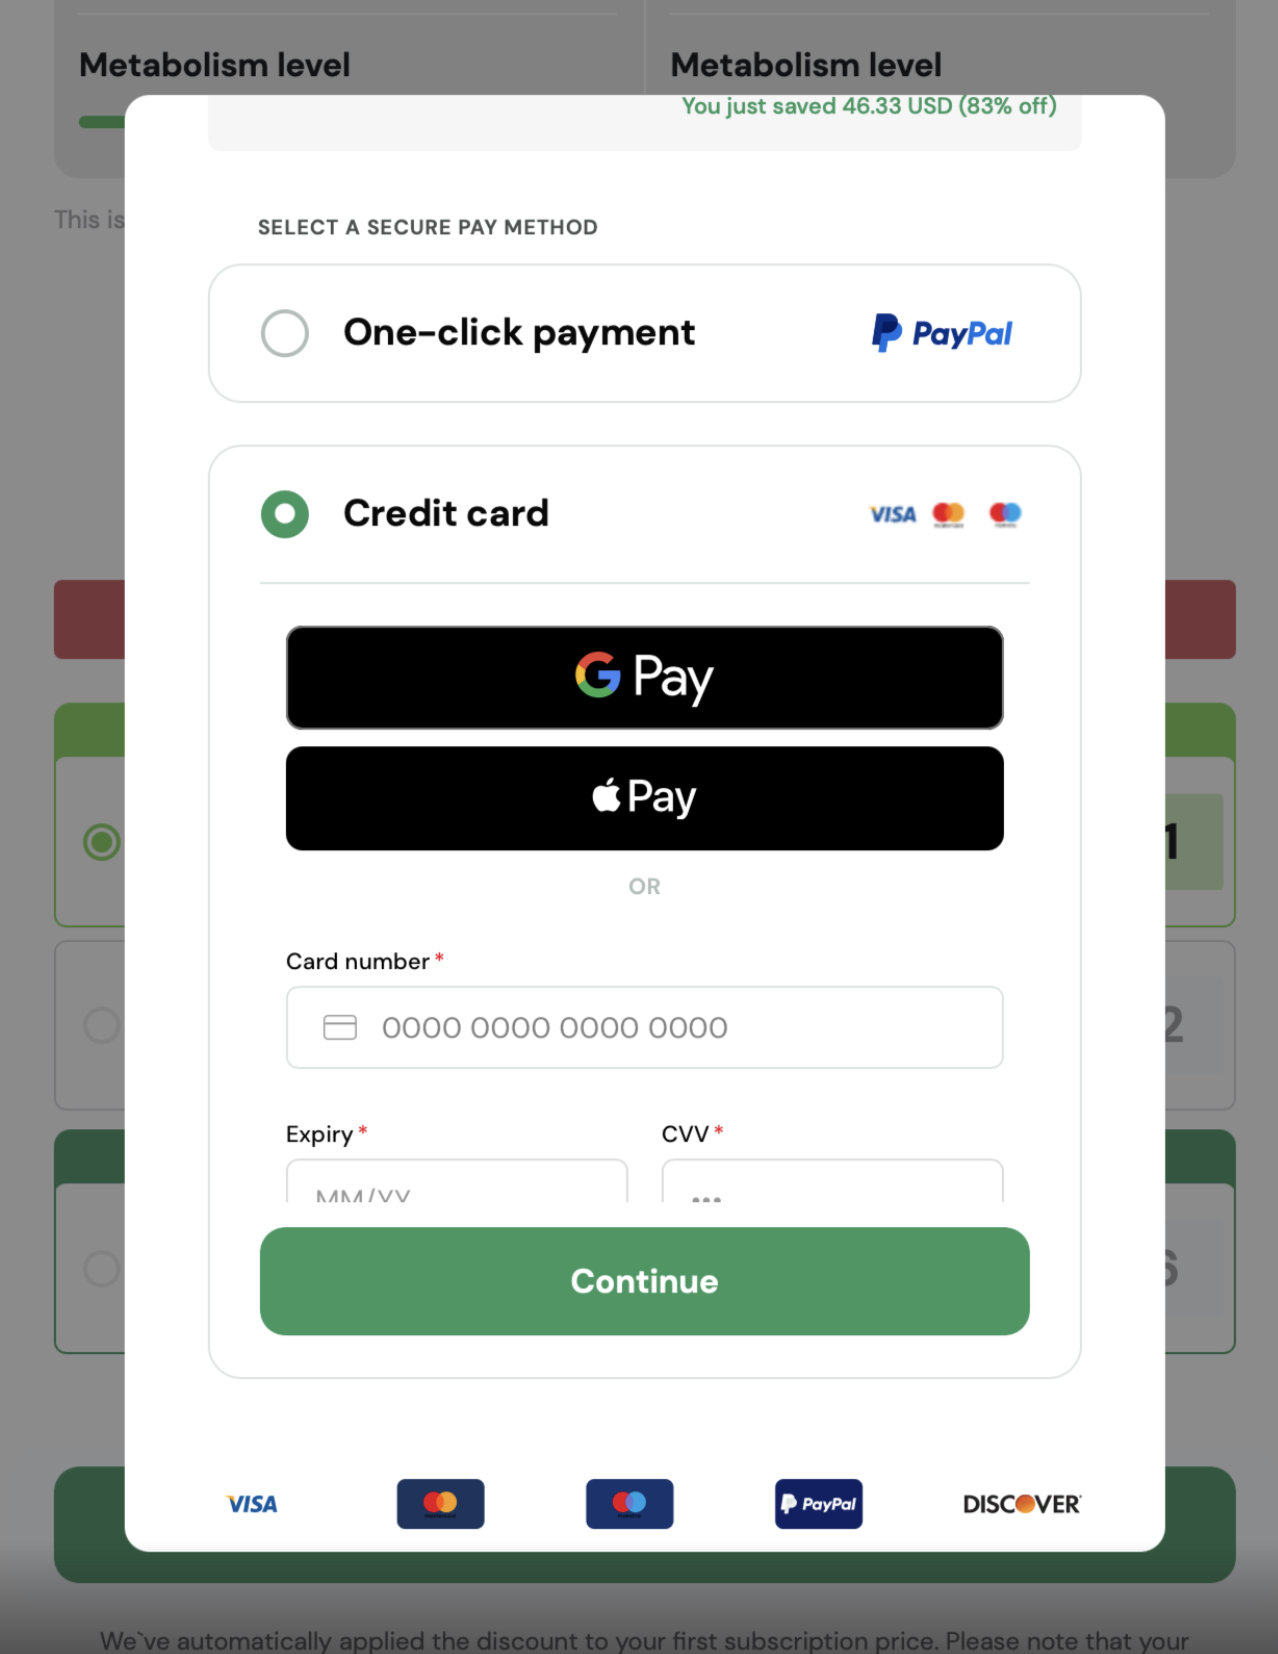
Google Pay flow diagram

Google Pay Overview:
https://developers.google.com/pay/api/web/overview
Policy & Terms
All merchants integrating Google Pay™ must comply with Google's policies.
By using Google Pay™, merchants agree to:
- Google Pay API Terms of Service
- Google Pay and Wallet API Acceptable Use Policy
Merchants are responsible for ensuring that their use of Google Pay™ complies with all applicable laws, regulations, and Google requirements.
For more details: